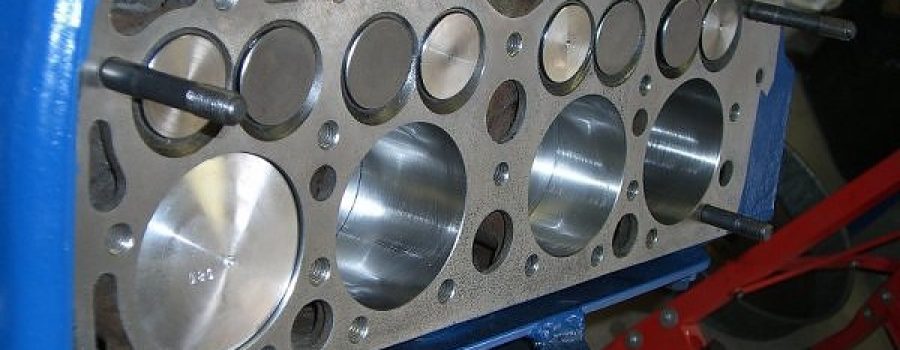
The Process of “Claying” piston to head and valve to head clearances on your Flathead Ford. This process can be achieved with either clay or with small aluminum foil balls, stuck in place with grease.
1. Studs in place at the four corners for consistent accurate head placement.
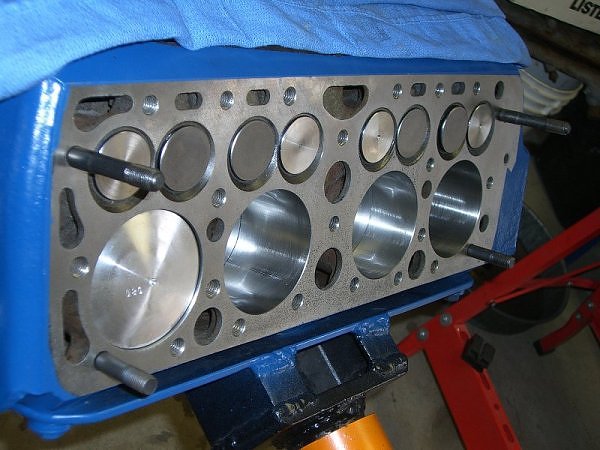
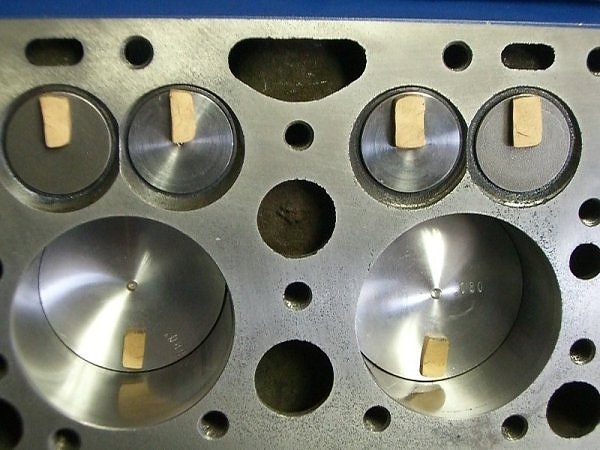
2. Clay pieces cut to approximately 1/2″x.1/2″x 3/16″ ( 3 ) per cylinder
3. Clay in the critical positions. Valve brow and piston quench areas.
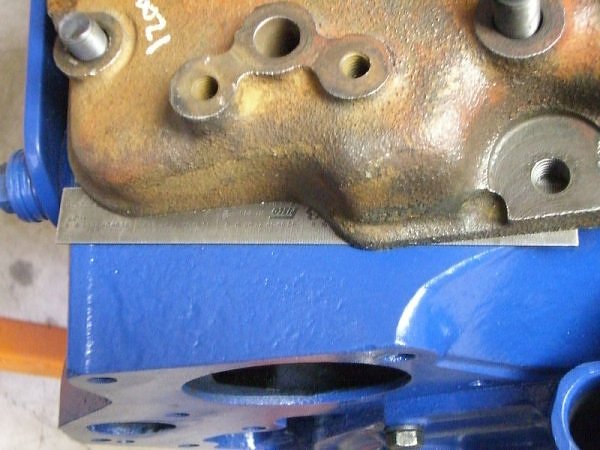
4. Spacers of known thickness at both ends of the head. This thickness must allow for clearance so the assembly may be rotated without contact. ( Determine this before any clay positioning. )
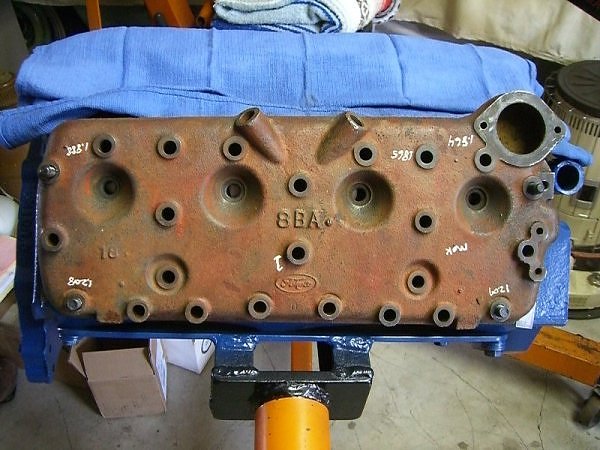
5. Head in place and snugged down, NOT torqued.
6. Rotate the assembly two full turns
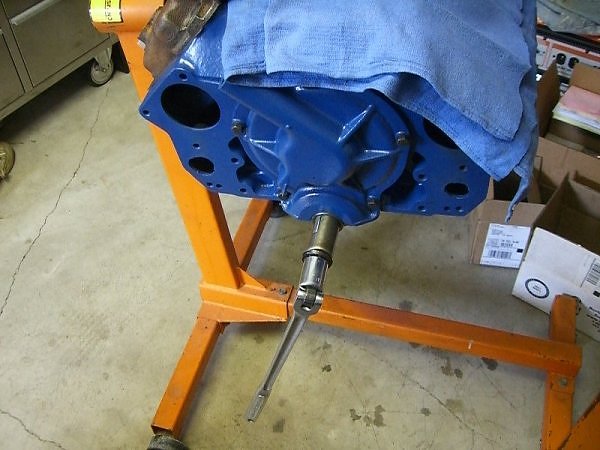
7. Remove head. ( Some clay will stick to valves, some to the pistons and heads
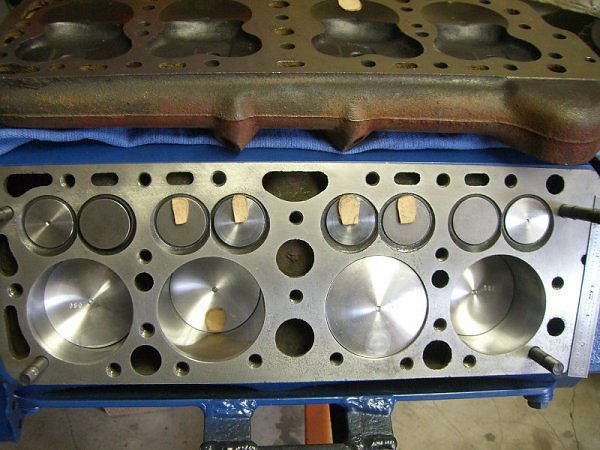
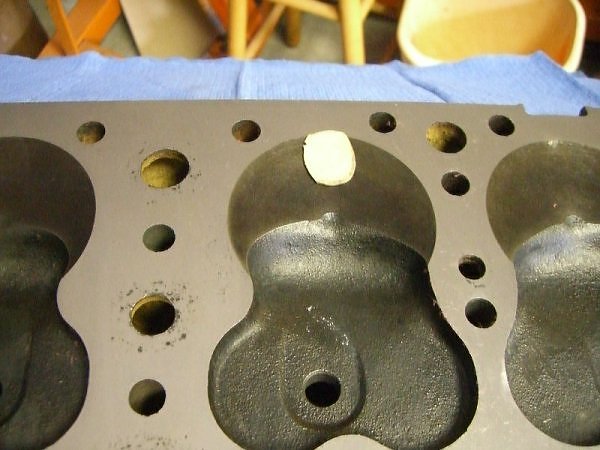
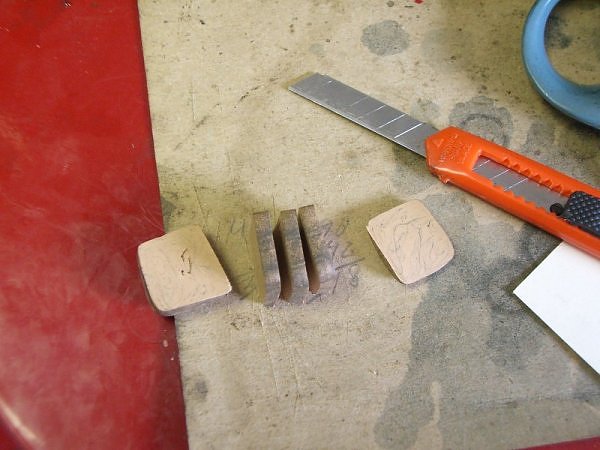
8. Gently remove the clay and make a cut across the thinnest portion.
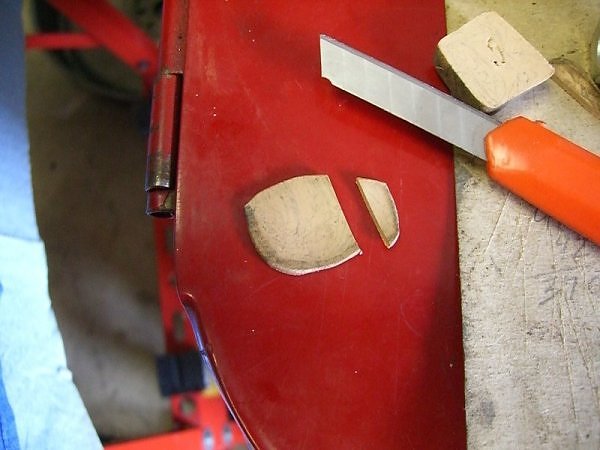
9. Measure the thickness of the clay
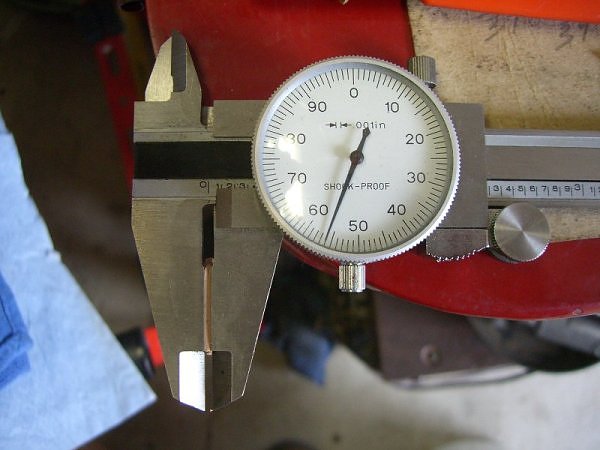
10. Subtract the thickness of the known spacer, and you have the clearance (without a head gasket) If you use a spacer of .050, you can use the direct clay thickness as your clearances. Desired clearances are .050″ for head to piston and valves. I prefer to do one head at a time, and every valve and piston clearance must be measured, as heads are not uniform, or could be warped.
