Long Term Care for Your Vintage Carburetors
A Flat-Spot Article by Tony Martheller At RIP KUSTOMS
- Marthaller
Having trouble with your accelerator pump not working or working poorly? Problems with leaking gaskets causing vacuum loss? This months Tech Tip should help with that. Today’s ethanol based fuels are hard on the old carburetors with leather plungers or even some of today’s modern “ethanol safe” type plungers. Worse yet is gaskets are eaten away by today’s ethanol based gasses. For some who have access to certain fill up stations that still sell ethanol free fuels are limited. Out on a road trip means an increased chance that you will, at some point have to fill up your hot rod at a service station with something other than ethanol free fuel.
 How do we resolve this issue? Well lets address the issue by first addressing ethanol fuel. Ethanol begins to break down after just 90 days and can wreak havoc on carburetor internals including gaskets, pumps, grommets, power valves, jets and fuel passages with lacquer build up. basically everything is subject to damage or clogging. This break down leads to corrosion on cast iron parts & brass and that lacquer clumps of junk is hard to clean out. Your best bet is to be prepared to pull your carb every season for those of you who put your hot rods away in the ole garage in the winter.
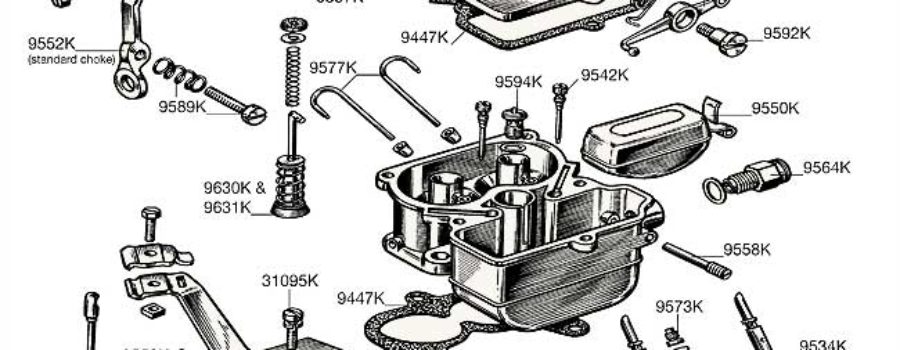
Open the carb up and make sure it is drained completely and let it rest until it’s no longer dripping fuel. Then with the help of some LP air will help get particles out (yes use your safety glasses, no sense having god knows what come back and in your eyes). Soak the accelerator pump in a lil marvel over night and then pat it dry with shop towels. I like the blue ones as they leave the least amount of residue. This will keep the leather hydrated. lightly brush the gaskets with a lil marvel with an acid brush and then place everything into a ziploc bag. For Stromberg’s or Holley’s I’d recommend both the upper and lower gaskets so you have the carburetor apart into the 3 main sections; upper choke, main body and throttle body. Storing the gaskets separate from the accelerator pump is recommended, both in individual baggies.
 Prior to installing everything take a lil LP air and blow out the carb and passages. Check for any kind of build up you may have missed the first time around. Use some spray cleaner like brake cleaner or carb cleaner if your unsure. It wont hurt the brass internal components. Once it is no longer dripping wet, again blow it out with a little air to make sure everything is cleaned out. Soak the accelerator pump for 12-24 hours pat dry and prepare to install. Lightly coat the gaskets with a lil Marvel Mystery Oil and assemble the carb. Do not over tighten the screws as you will damage the pot metal threads. You can use a drop of blue thread lock, but never ever use the red thread lock. The light coat of MMO will help create a better seal when sealing the carburetor back up. Your carburetor is now ready for another season of cruising and is a great way to do some long term preventive maintenance that will keep your carburetor running longer without going through rebuilding every year when the gaskets blow or the accelerator pump shrinks.
I have given these tips to those seeking out my rebuilding services many times and doing these simple things typically remedy their issues without having to pay for a complete rebuild. Hopefully these tips will not only resolve common issues, but keep that carburetor running in top condition for many years in between overhauls.

Sponsored by RIP KUSTOMS


