These are very general trouble-shooting ideas gathered from various sources and information shared in the Flat-Spot Facebook Group. These may not include all specific problems and may not include all possible solutions. This is intended to be a generic trouble shooting guide, but some areas may have references to specific Ford Motor Company products. This guide should only be used to help brain-storm ideas for potential problems. If you are not trained in auto repair, or do not fully understand the issues of service and safety, please consider hiring someone else to handle the repair of your vehicle. A professional mechanic may also be trained for other potential mechanical repairs that your vehicle may need, that are not addressed here.
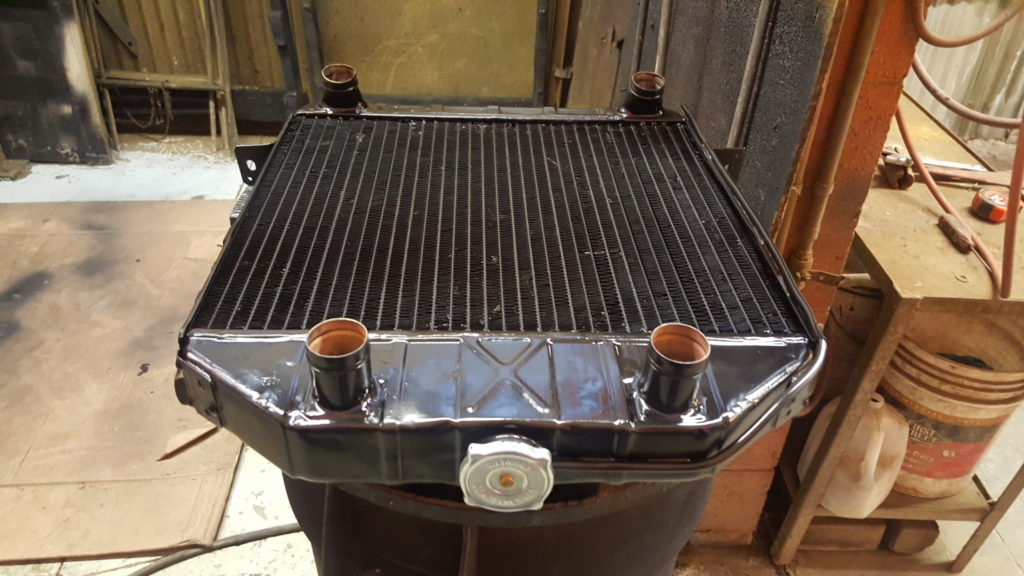
- Radiators: It kind of goes without saying that the radiator should be clean. Using an original Radiator is not normally a problem and was designed to keep the engine cool. That’s not to say that converting over to a new radiator isn’t a good idea. It’s just not always a necessary solution. Taking your original radiator to a shop and have it flushed and pressure tested is always a great way to get started. If the fins are not bent and the radiator flows properly there is no reason to convert over if you don’t have to.
So, I worked in a Speed shop for close to 5 years. One of our best friends owned a Radiator shop in the Hot Rod Capital of California and we talked for hours. I’m going to share what he told me and remember this is from the viewpoint of a shop owner that had been building cooling systems for hot rods since the 1960’s.
DO NOT BUY AN ALUMINUM RADIATOR! Yes, I know this sounds very VERY weird to many of you and yes, I know many of you have and have had very little problem with them. But here is what I have learned to be true.
Aluminum radiators have some very large issues. One of which is they cannot be repaired, so if you catch a rock you’re done. Also they are prone to cracking. Even a good body flux or pot whole could brake a poor one open. I had a customer with a 6 month old Aluminum Radiator in his old sedan loose it when he hit a railroad track with a bad rail. The car twisted when the suspension bottomed out and the radiator cracked.
The second of which is they commonly grenade around 50K miles. They’re basically a time bomb. Which for the average weekend car isn’t that big a deal, but if your drive your car regularly this might be an issue.
Third is that aluminum radiators where basically made popular not because of there quality but because they were a cheap alternative to quality radiators. They’re popular because they were often the highest profit item a Radiator shop could sell. I have had a number of shop owners tell me the same thing. Early in their popularity the product bypassed any actual testing or regulation. Some shops honestly made their own, which is scary. Although they have gotten better over the years they’re commonly cheaply made, and people buy them because they’re cool and have bought the hype. Many of the builders I know where on their second or third aluminum radiator when they got to me. They swore by the cooling but totally didn’t realize that by the second or in some cases third radiator they could have just bought a quality brass Radiator.
Lets say that you’re not a budget builder and you want the best for your vehicle going forward. I cannot recommend a better Radiator than Walker Radiator or Brassworks Radiator. Your going to pay more for them but they will honestly secure a good 30-40 years of solid cooling performance even with high mileage. Also, they can be repaired in the event of a leak. Extending their value for years to come.
- Radiator Caps: Be sure that the radiator cap is the correct one for the system you have, pressurized or non-pressurized. Flatheads as a rule don’t have a pressurized system using a pressure of only 3-4 pounds. So, make sure when getting a new cap, you get one that isn’t a modern high-pressure cap. Using a higher-pressure cap can put stress on the water pumps seals and cause other problems in the system.
- Coolant: I would honestly start by back flushing the old coolant until you get clean water.
There is bad news if everything else fails. If the block has years of accumulated corrosion and crud in the water jackets, a simple flush may not remove this material. There was also the problem of casting sand leaching out of the castings and residing inside the block. We have heard of everything from sandblasting the inside of the block to “roll it around on the floor” to remove scale, but in the end few things can compare to a chemical bath. The scale also acts as an insulator, making it more difficult for heat transfer from the block to the coolant.
Some will tell you that you can sandblast the passages but the best method and sadly the most expensive option is to remove the engine and tear it down to the bare block casting in order to have it acid dipped. This process will remove everything but the good cast iron.
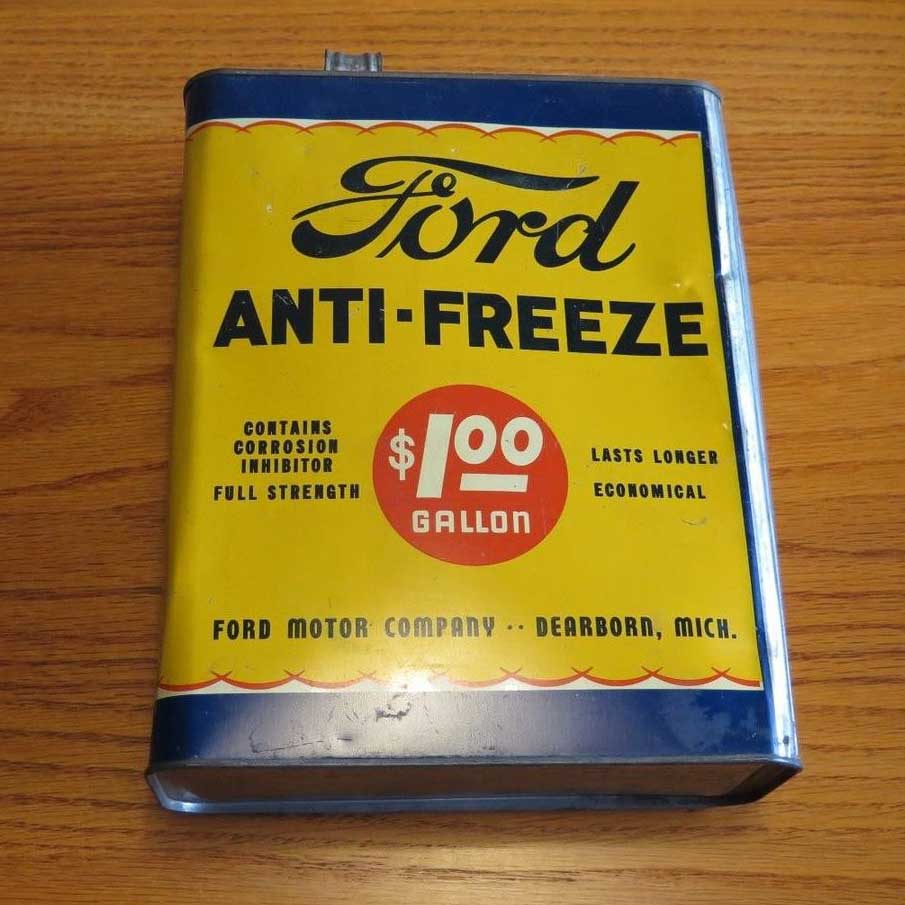
Once the block is CLEAN, it can be reassembled and then fresh coolant (50/50 mix) can be added to the system.
Rookie Mistake: So, while working in the shop I had this come up several times. Guys would top off their radiator and go for a drive. When they got where they were going the coolant would burp out. They would then top off their radiator and head home. Only to have the radiator burp up again when they parked the car. Concerned about cooling issues they would come in asking for help. The solution was stop topping off the radiator. Your cooling system needs a small gap in which to expand. So, leave a little gap between the level of the fluid and the top of your radiator. Or if you have topped it off expect the burp. Then let the level stand. Check it after a few drives and make sure there is still fluid in the top tank. If you have a fair amount of fluid your solid. Don’t stress if there is an air gap. That is pretty normal.
- Testing Your Coolant: Use a coolant test strip (available at most auto parts stores) to check the coolant for evidence of exhaust by-products. This could indicate a leaking head gasket, or a possible crack in the block. Cracks in the block could be letting in combustion gasses that can super heat the coolant and cause overheating. The issue may also be a lifetime of electrolysis. Without a sacrificial anode electrolysis can eat away at the aluminum in the heads or the copper in the gaskets. If you don’t have one get one and install it. Also, whatever you use change it once a year despite its lifespan. The electrolysis gets worse as the coolant picks up more iron from the block helping corrode the alloy more. These Anode can be picked up on Amazon and several other dealers.
The other thing that should be said about your heads is they are not simply torque and you’re done. Ford felt that head gaskets where enough of an issue that their service manuals include instructions to re-torque the head bolts with every tune-up as standard procedure. So, it is always a good practice for all Flathead owners to get in the habit. It might just save you a blown head gasket down the road.
- Thermostats: Be sure that thermostats are installed. Flatheads have a long history of moving to much water, to quickly. Because of this the water commonly doesn’t spend enough time in the radiator to properly cool. Also make sure that the Thermostat isn’t installed upside down. On 1948 and earlier engines be sure that the hose clamps keeping the thermostats in place and the hoses attached to the heads are not too tight, preventing the thermostats from opening and closing.
- Water Pumps: The pumps are the heart of your cooling system and it’s always a good idea to check them out with every tune up. Check for leaks around the pulley or around the mating surfaces. This is a sure sign it might be time for some changes. It’s also a good idea to grab the pulley and give it a little rock and twist. This is to ensure that the bearing is still firm and that the shaft isn’t warn. The stock pumps should be more than enough to get the job done, but if you’re looking for improvement on your 59AB or 8BA I recommend converting over to the Bob Drake Pumps.
- Belts: Be sure that your water pump belt is set to the correct tension. Too loose and your pumps will slip and not pull in enough coolant. Too tight and you prematurely wear out the bushings/bearings in the pumps.
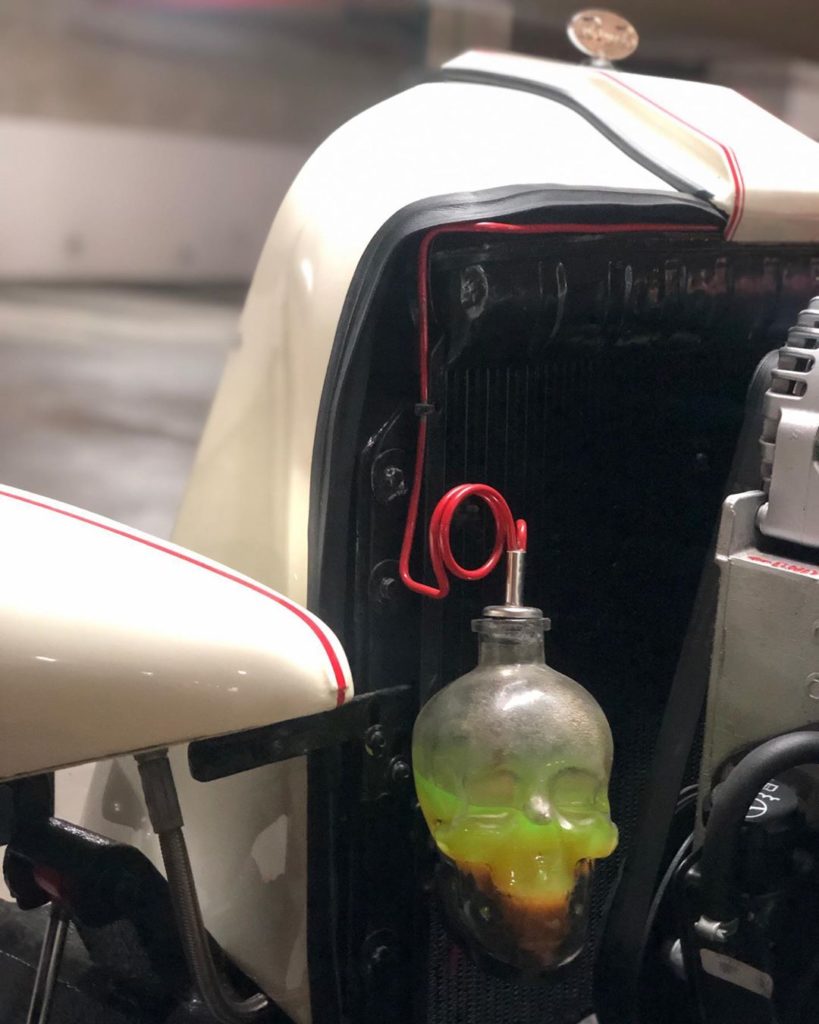
- Overflow Tanks: This isn’t really something that is going to help with overheating but one of my pet peeves. Overflow tanks are not Coolant Reservoirs. They should not be filled with coolant like a reservoir. They are specifically for catching extra coolant and allowing for expansion and contraction.
- Timing: Be sure that the ignition timing is correct. Timing that is too far advanced will cause the engine to overheat. Adjust the timing to within factory specifications. Pre 1949 distributors will need to be removed and adjusted on a distributor machine. Although because they don’t really offer much option for adjustment it’s less likely to be the issue.
- Keep It Clean: This sounds like kind of a basic one, but it should be said. The motor will cool better if the 50+ years of grease and dirt built up on the block is not acting like a warm blanket.
- Brakes: Be sure the brakes are not set too tightly. Dragging brakes make the engine work harder and can actually have an effect on cooling.
- Tires: Be sure your tires are properly inflated. Low pressure creates more drag for the engine to overcome and wastes fuel as well. It might seem like a small thing but can save you a little in the long run.
- Gauges Might Be Lying To You: It happens more than you think. But remember to be smart about this one. It still needs to be dealt with so that you don’t risk calling wolf and your motor is actually in jeopardy. If the engine temp gauge still shows overheating, but visually it doesn’t appear to be, the gauge could be reading wrong. Or, the temperature sender(s) could be defective. The sender can be tested in hot water with a volt / ohmeter to determine if it is functioning correctly. An infra-red thermometer can also help locate hot spots in the motor and indicate actual temps.
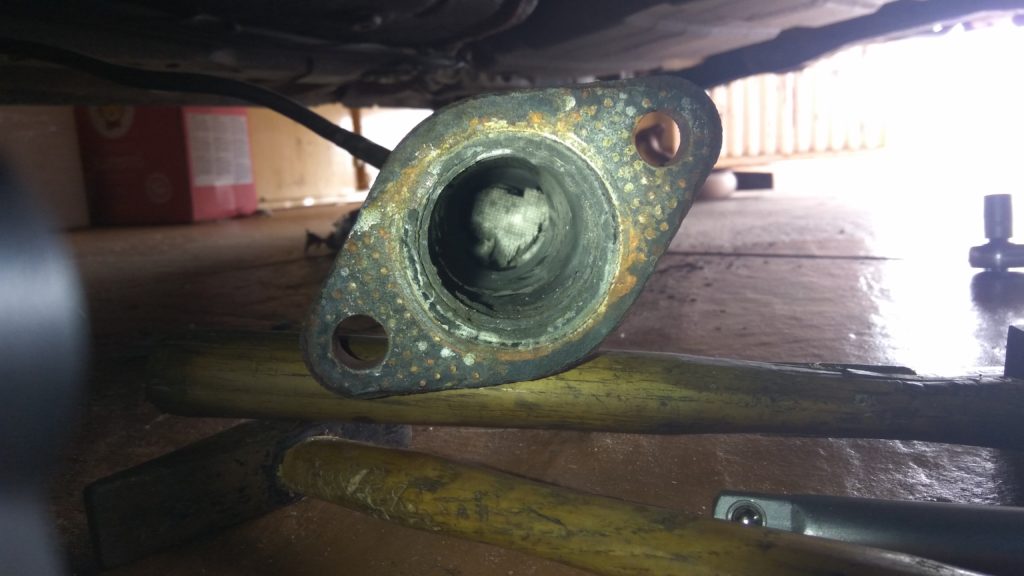
– Blocked Exhaust: A blocked exhaust system can cause overheating. If the vehicle has been stored for some time, rodents may have climbed into the exhaust pipe and built a nest anywhere from the interior of the engine to the exhaust outlet. Even in some areas we have seen Mud Wasps build up colonies in the pipes. If you suspect this to be the case, and you cannot feel normal pressure at the pipe outlet, disconnect the pipe from the exhaust manifold and try to blow compressed air through it. You may have to completely disassemble the exhaust system to locate and remove the problem.
Another thing we must consider is modified exhaust. Some people cut and re-weld the exhaust in odd ways. Some bends and twists in the exhaust to get around steering or around a mount can cause back pressure in the motor that might just be enough to cause extra heat.
Sources:
– The Flat-Spot Facebook Group
– Hot Rod Magazine
– Van Pelt Ford Parts
– Tex Smith “The Complete Ford Flathead V8 Engine Manual”
– Reids Rod Parts inc – Old Town Orange
– Hoffman Radiator – Old Town Orange


